Today’s topic is my most recent keyboard build, the keebio Nyquist. I had so much fun building my Iris, it was a good excuse to make a second so I can have a sweet keyboard at home and work.
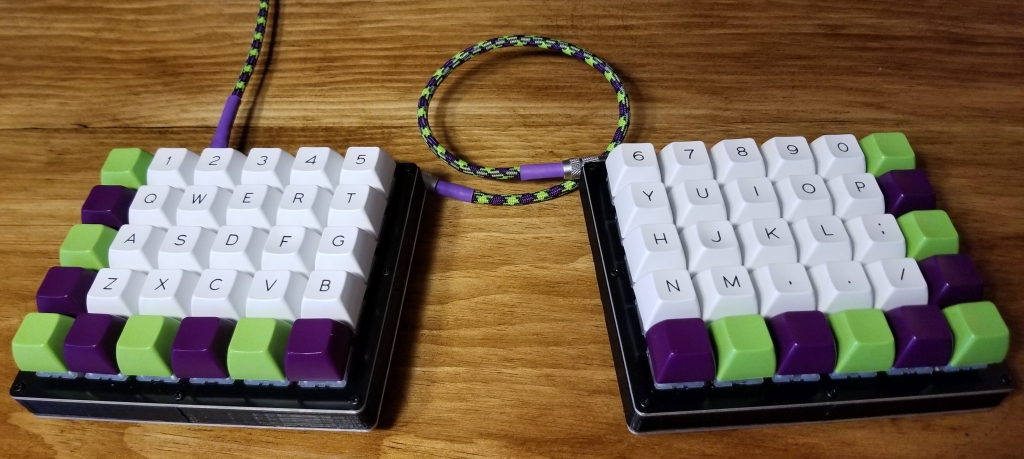
Here is the final result, equipped with Gateron red switches and SA keycaps. For those who might be interested doing a build themselves, keebio provides a thorough Build Guide. Note, this is the same that I used for my previous Iris build. From a general perspective, they are very similar keyboards, the bottom row format is oriented differently and the Nyquist just has a couple addtional keys.
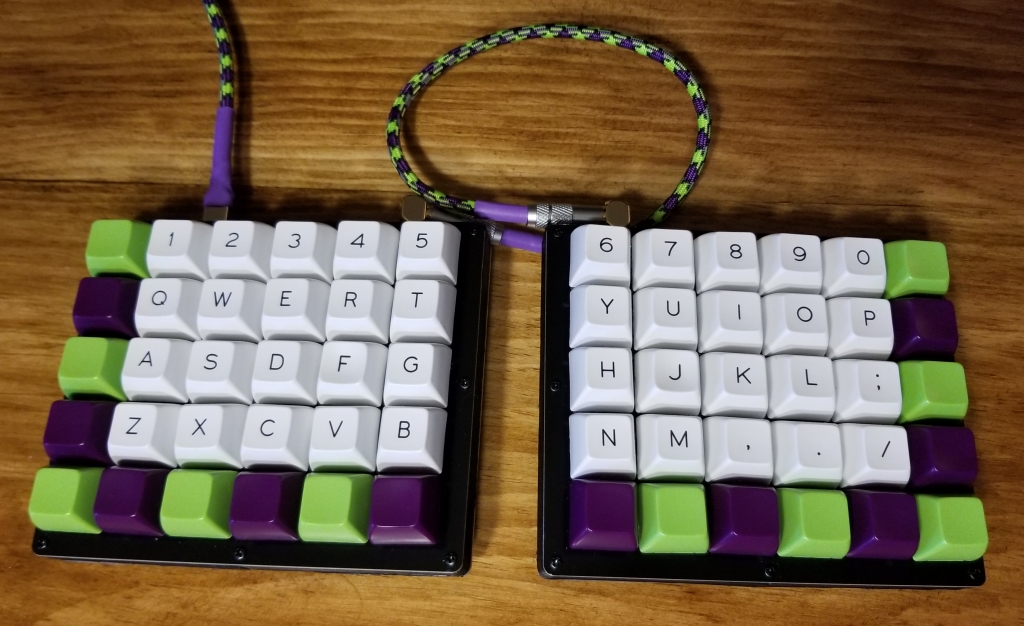
If you’re curious about the key mapping, checkout my Iris Build. I kept the same mappings, with a couple exceptions. Esc, Print Screen, and Alt have been moved to the bottom left row. Arrow keys were added on the bottom right row. I thought I’d use dedicated arrow keys more, but they have been pretty much untouched. Additionally, I prefer the new esc location; on the Iris’ thumbpad hasn’t been as convenient as I expected.
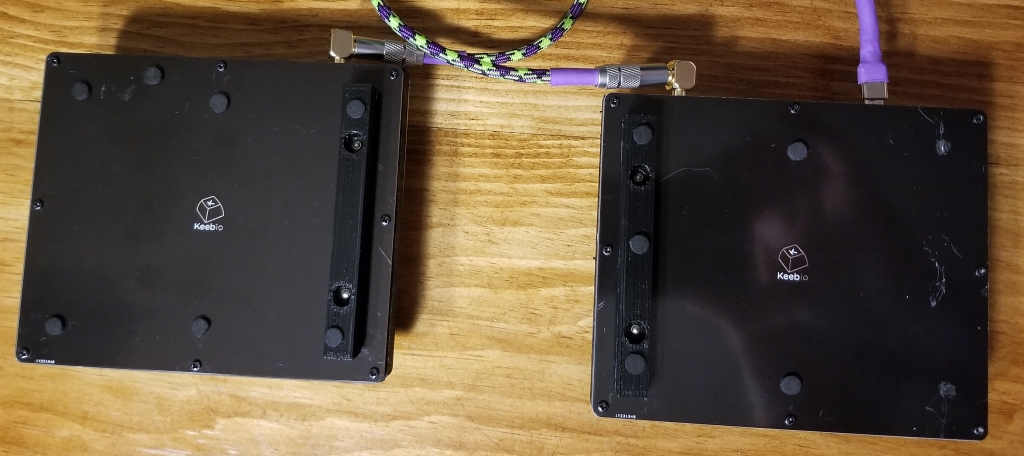
Beyond the stock keyboard build there are a couple custom components. I only bought top and bottom plates, so I 3d-printed the case and stands to match my desired typing angle. I designed them using OpenSCAD. The stl files are here: case and stand. My printer bed isn’t big enough for the case in one piece. Since it’s symmetric the stl is half the case and I just mirrored it in Cura for the other half. Keeping with the purple/green color theme, I built the TRRS and USB cables to match, I think they really pull the whole thing together.
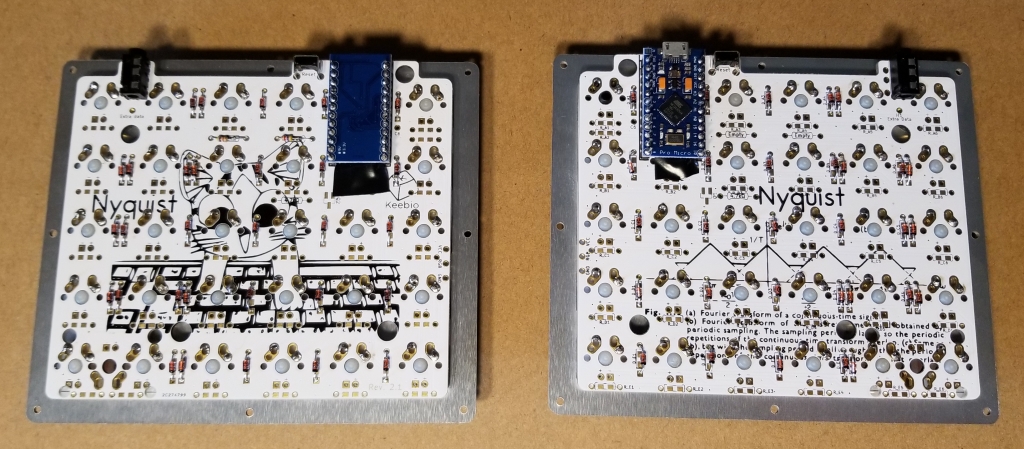
As a bonus, I’ve included a couple build process images.